This bulletin contains easy-to-follow, well-illustrated directions for making fertilizer with materials likely to be found in a village situation. Included are instructions for making the fertilizer in a simple frame or container, a list of possible raw materials, and a list of general guidelines, including directions for mixing chemical and natural fertilizers.
This bulletin is a basic introduction to composting. It can be used by extension agents, community workers, and others seeking to introduce organic farming methods in areas where such methods are not used. It would be a useful addition to an extension training program.
Harlan H.D. Attfield, the author, has been associated with VITA as an expert Volunteer for several years. He is the author of a number of books and articles, including Raising Rabbits, published by VITA.
Please send testing results, comments, suggestions, and requests for further information to VITA.
Revised 7/81
ISBN 0-86619-088-0
VOLUNTEERS IN TECHNICAL ASSISTANCE
1600 WILSON BOULEVARD, SUITE 500, ARLINGTON, VIRGINIA 22209, USA
INTRODUCTION
The material shown here has been adapted from a booklet prepared by VITA Volunteer Harlan H. D. Attfield as part of The Sylhet Package Program for community development in Bangladesh.
Rotted organic materials, such as leaves, straw, grass, weeds, rice hulls, vines, and animal manure make a good fertilizer called COMPOST. Compost is easy to make and does not cost anything except some labor.
Chemical fertilizers are sometimes used instead of animal manure for home gardens. But remember that chemical fertilizers are a SUPPLEMENT to organic fertilizers (compost). The more organic materials are mixed with chemical fertilizers, the better it is for plants and soil fertility.
Chemical fertilizers cost money. When placed in the fields, the fertilizer may be washed away by rain or evaporated into the air. But if it is mixed with compost, it will not be easily washed away or evaporated.
Experience shows that one sack of chemical fertilizer mixed into compost and applied to the fields is better than three sacks of chemical fertilizer applied alone to the fields. Costly commercial fertilizers can be conserved by mixing it with the compost first.
Some of us have forgotten the lessons our ancestors learned many, many years ago. We will be wise if we apply compost to our fields. We should return the waste from plant and animal materials back to the soil instead of burning or throwing them away.
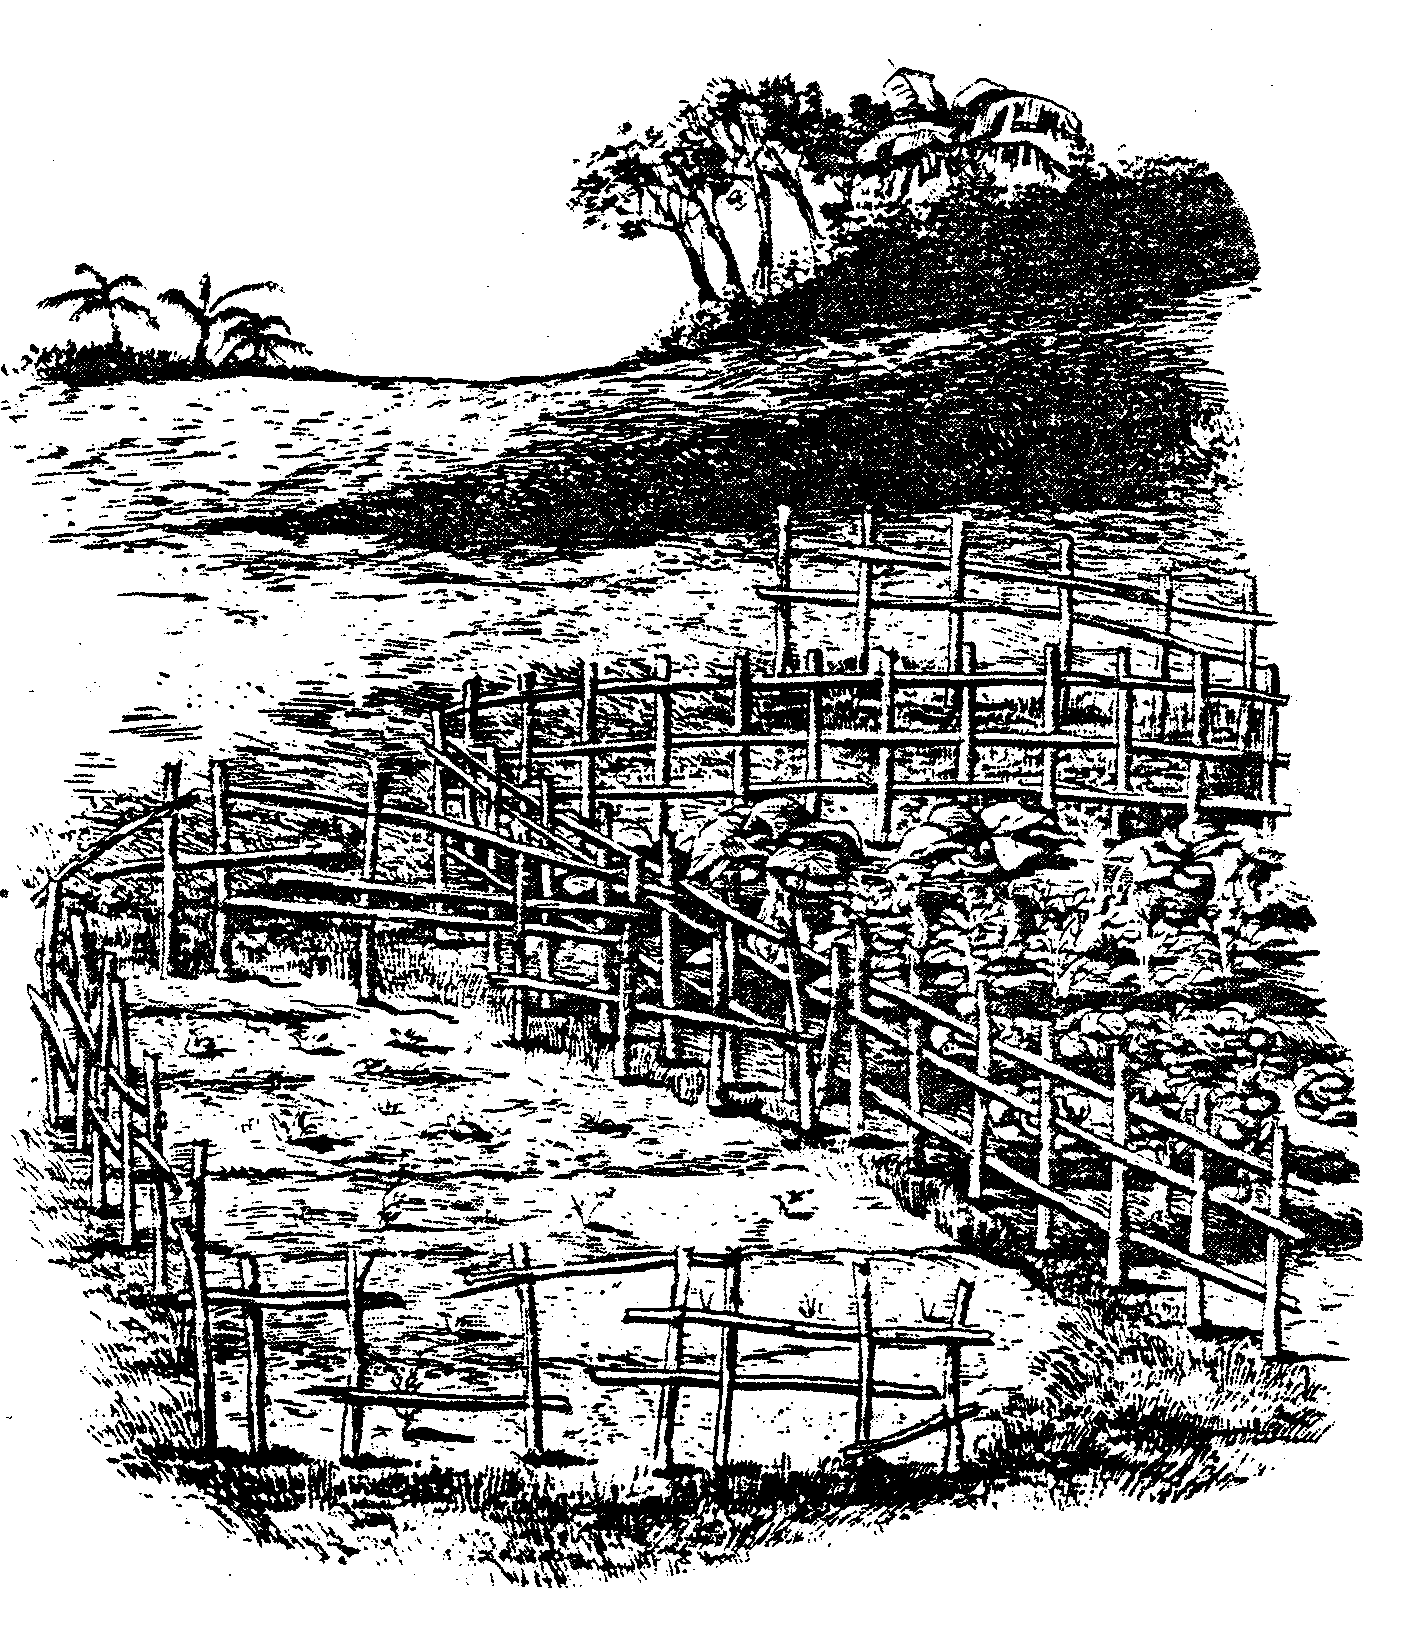
Your soil is alive! It must be fed with plenty of natural fertilizer if you want it to be healthy, fertile, and productive. <see image>
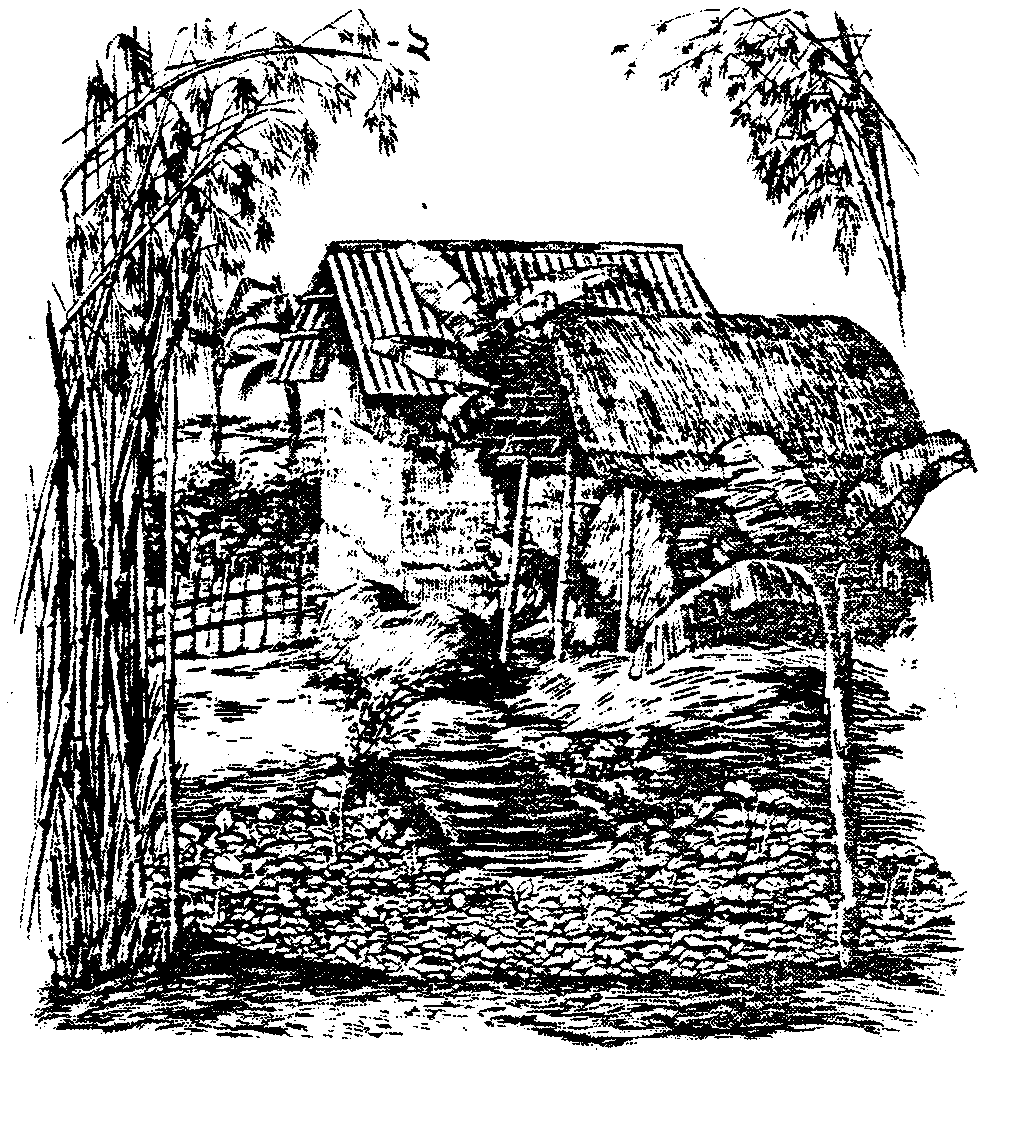
You can easily make fertilizer yourself. There are probably lots of materials around your home that can be made into fertilizer, costing you nothing except some labor. <see image>
Some of the materials that can be used to make natural fertilizer are:
* Water hyacinth * Silk mill waste * Ashes (from wood and straw) * Leaves * Sugar cane residue (bagasse) * Egg shells * Banana skins and stalks * Grass * Feathers * Rice Hulls * Fish cleanings * Rice straw * Old flowers * Peanut hulls * Kitchen scraps (not meat or fat) * Sour milk * Hair trimmings * Peanut hulls * Animal manure * Old paper * Mustard plants (after harvest) * Vines * Sawdust (turned grey by weathering) * Wood shavings * Potato wastes (leaves, stalks, skins) * Hedge clippings * Ground shells (mussel, oyster, crabs) * Seaweed
You can make fertilizer in an open pile, but some kind of simple container keeps things better organized. The bamboo container described in this Bulletin is for people who do not have large amounts of garbage or enough land for lots of plant waste, and who like to keep their land neat and attractive.
The container shown measures 1.2m X 2.4m X 1.2m high (4 feet X 8
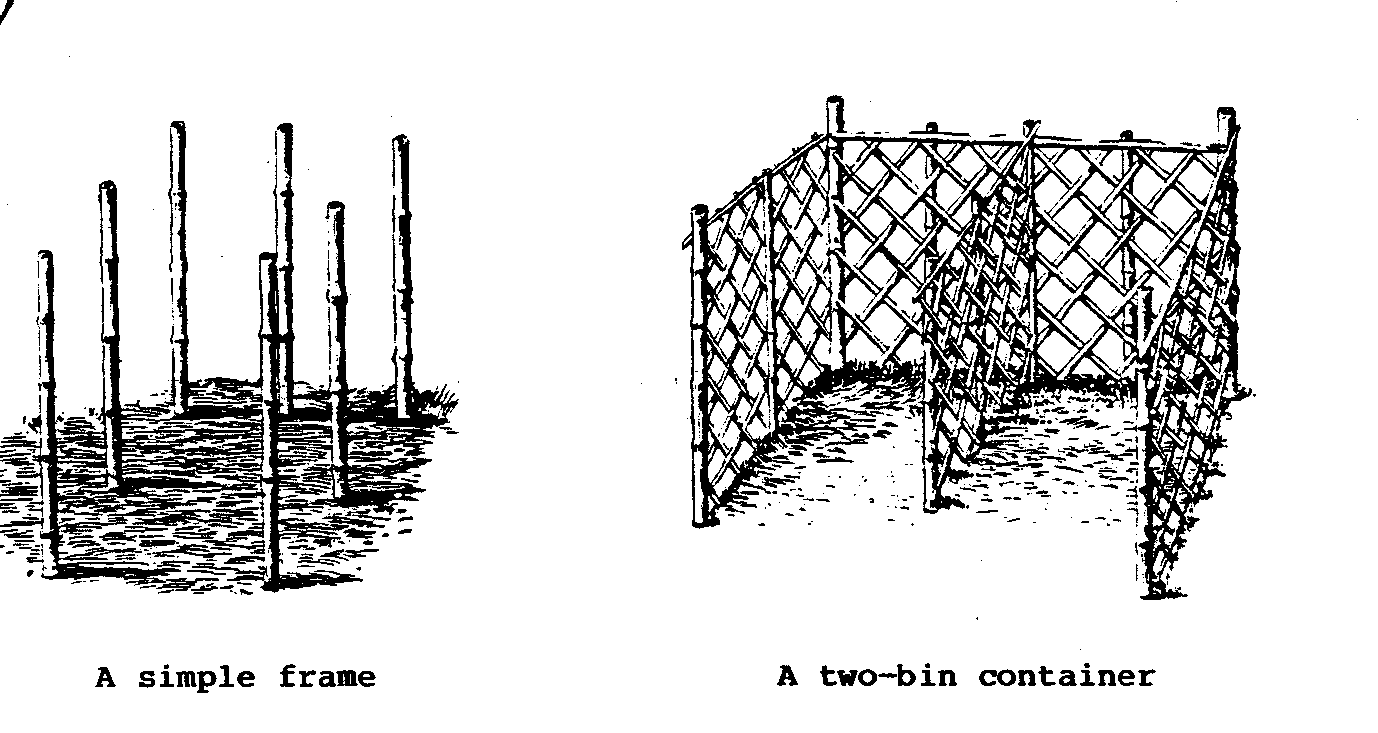
feet X 4 feet high). It is separated in the middle by a removable partition.
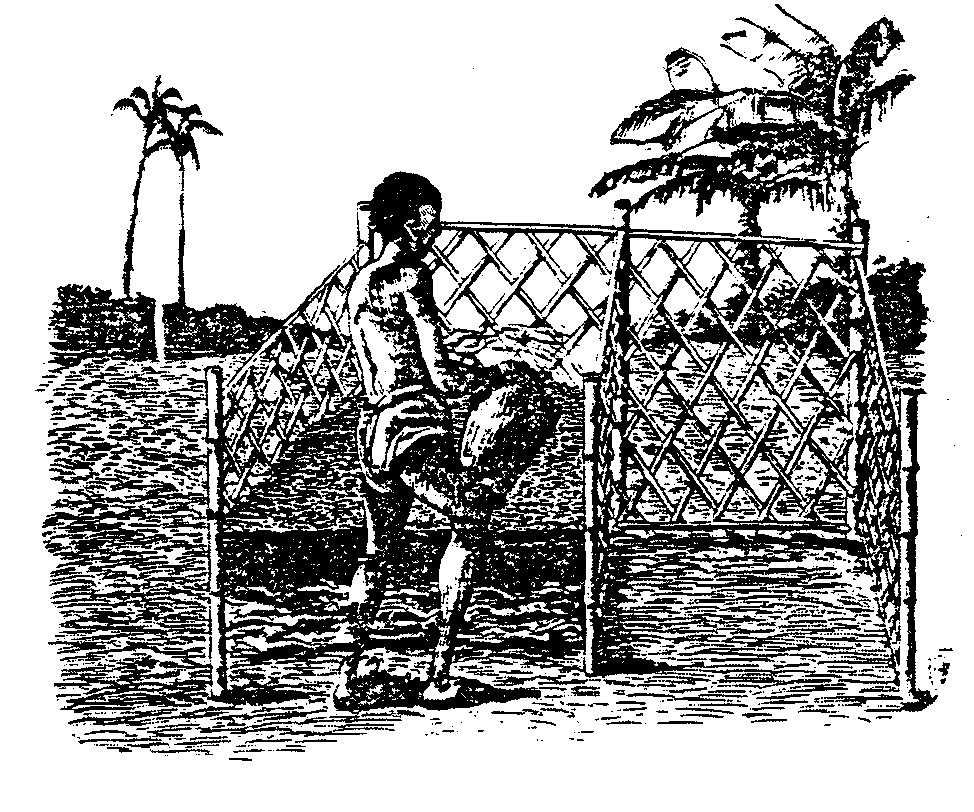
Begin by collecting whatever material you have: partially rotted water hyacinth or grass and leaves. Put a 6-inch layer of this material in one of the bins. <see image>

Add a layer of some animal manure and a thin layer of soil on top of this. Also sprinkle some lime or wood ashes and a little superphosphate if you have them. These will improve the quality of the finished fertilizer, but are not absolutely necessary. <see image>

If the pile is made with lots of straw, dry leaves, grass, or other dry plant materials, you should sprinkle water after each layer of earth. If the pile contains a lot of water hyacinth, no additional water is needed. <see image>
A good pile should always be moist, but never too wet.
Now add a thin layer of rice hulls or rice straw. Then start the whole process again by adding another 6-inch layer of plant materials. This is followed by more manure and earth until the pile is finally 1.2m (4 feet) high. <see image>

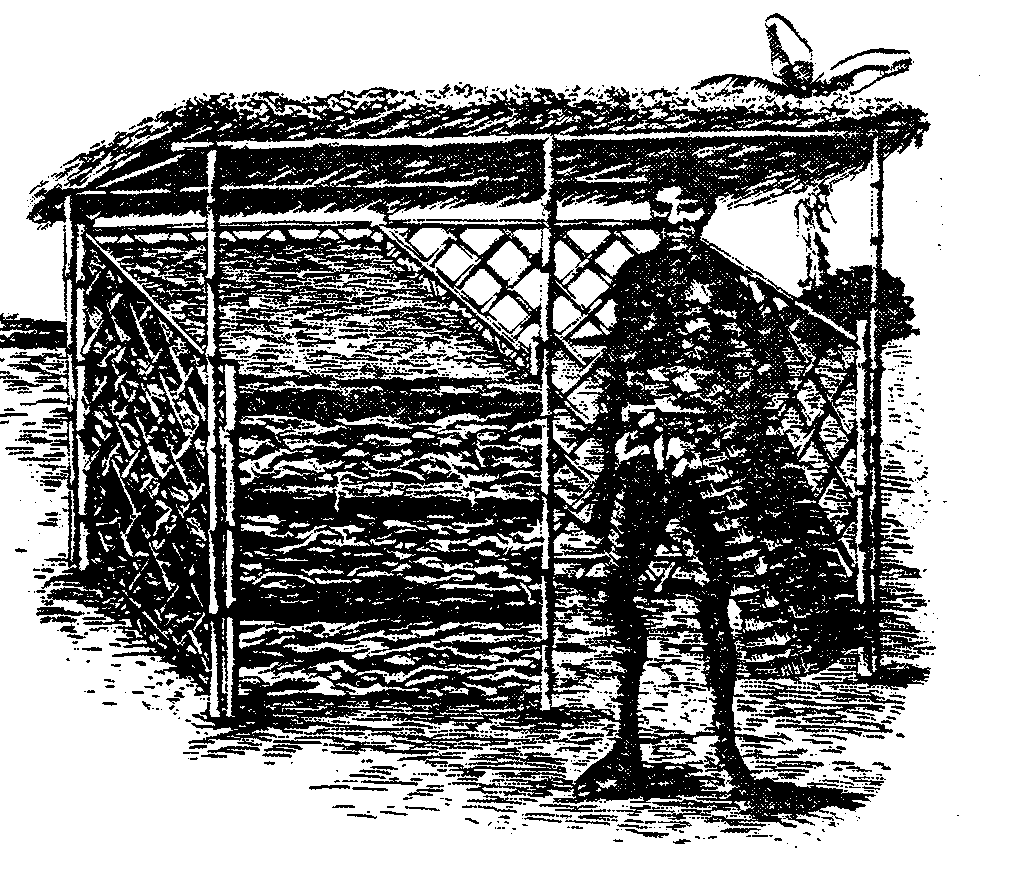
The top of the pile is then covered with a 1-inch layer of earth. Woven mats, a thick layer of straw, or even a straw roof can be used to protect the pile during the rainy season. <see image>
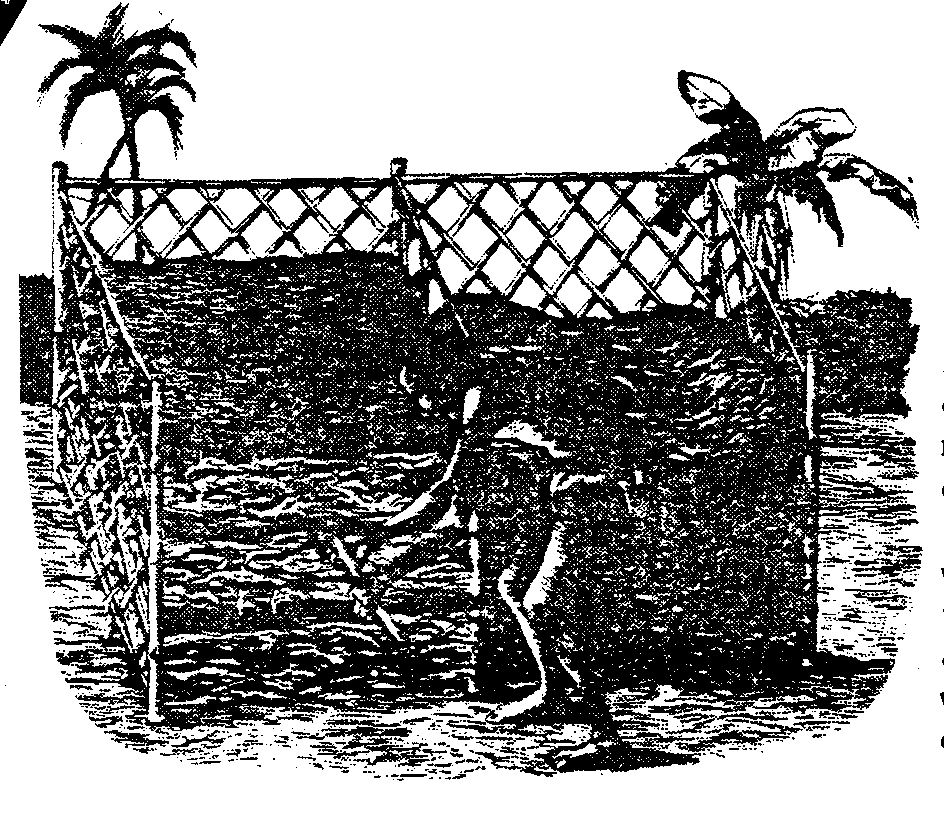
After two weeks, remove the middle partition and place the rotting materials into the other bin. Begin making more fertilizer in the emptied bin. Piles made with tender green plants, rice hulls, manure, and dirt, are often ready for use after just another two or three weeks of rotting. Sometimes two or three months are needed for piles made with straw, leaves, and other dry materials. <see image>
If the pile is turned frequently and kept moist, it will always smell sweet. If the pile smells bad, it is because it was not turned soon enough. Test the pile by pushing a bamboo stick into the center. Pull the stick out after a few minutes. If the stick feels dry smells bad, the pile should be turned. <see image>
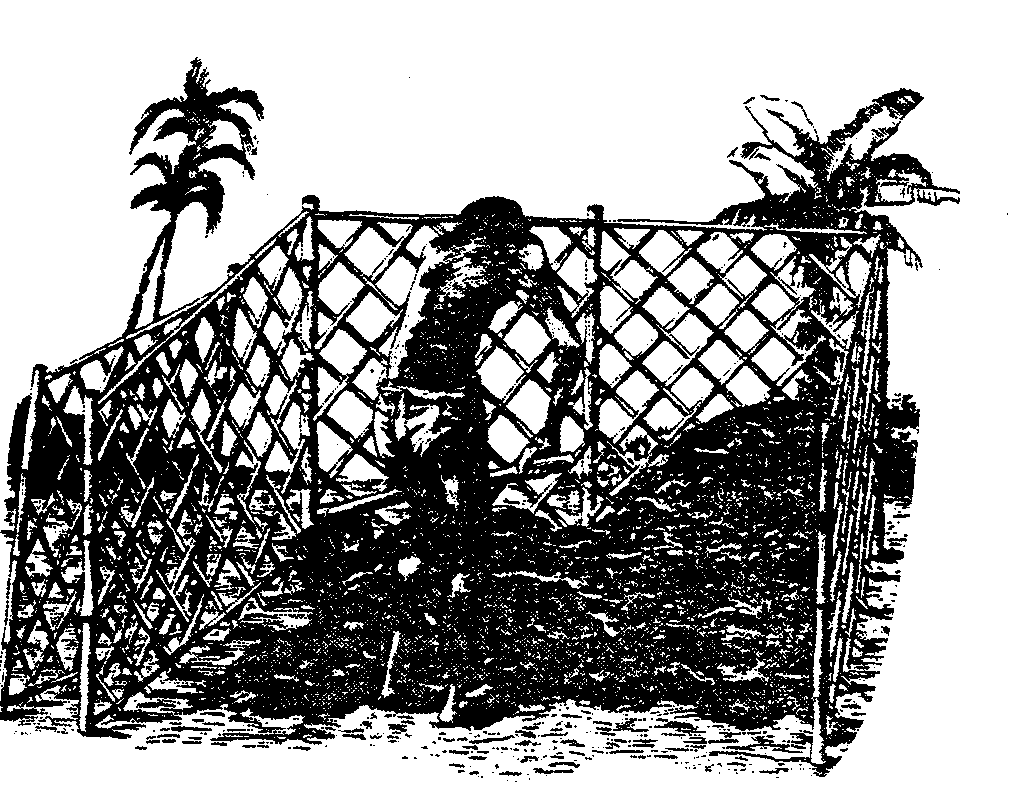
If a lot of materials for making fertilizer are available, you might like to remove the center partition and make one large pile. Or, just build a pile--the same size with a few bamboo stakes to hold the sides in place. <see image>

SOME TIPS ABOUT FERTILIZERS
An old formula for compost making is: a 6-inch layer of plant material, a second layer of different plant material, a layer of some sort of animal material (usually manure), a thin layer of soil, a sprinkling of ashes, then water, and repeat the process.
It takes a long time for some materials to rot completely. Do not worry if some of the materials are not completely rotted. Final rotting will take place in the soil itself. In the meantime, your plants will be getting lots of nourishment. Partly rotted compost is good fertilizer because it releases its nutriments to the plants slowly.
The size of a pile can be as long as you want to make it, but a pile 4-5 feet wide and 4-6 feet high is good.
Turning and mixing the materials on a regular basis is very important. This allows more air into the pile so materials will rot quickly.
Some people add chemical fertilizers containing nitrogen to the compost pile. These help the materials rot quickly if manure and garbage are not available.
VITA Technical Bulletins offer do-it-yourself technology information on a wide variety of subjects.
The Bulletins are idea generators intended not so much to provide a definitive answer as to guide the user's thinking and planning. Premises are sound and testing results are provided, if available.
Evaluations and comments based on each user's experience are requested. Results are incorporated into subsequent editions, thus providing additional guidelines for adaptation and use in a greater variety of conditions.